How to Start a Fire with a Bow Drill
The bow and drill method is one of the most ancient fire-starting techniques. It’s all about using a bow to spin a drill against a piece of wood to create enough friction to create heat to create an ember that ignites a tinder bundle. It’s not only an essential survival skill but an art that is immensely satisfying when achieved and connects you to your primal self.
What wood is best for bow drill?
Once you have identified the right wood, you need to find some that is dead yet not rotten. There are two ways to achieve this, often you can find standing dead wood, still attached to the tree but dead that you can snap off. Or you can cut down the right sections whilst it is green and dry it in the sun, this normally only takes 24 hours in the hot tropical sun on desert islands. The standing deadwood also needs to be done dry. The best ways to detect moisture in wood is to put it your lips.
The Perfectly Bow Drill Kit: Essential Components
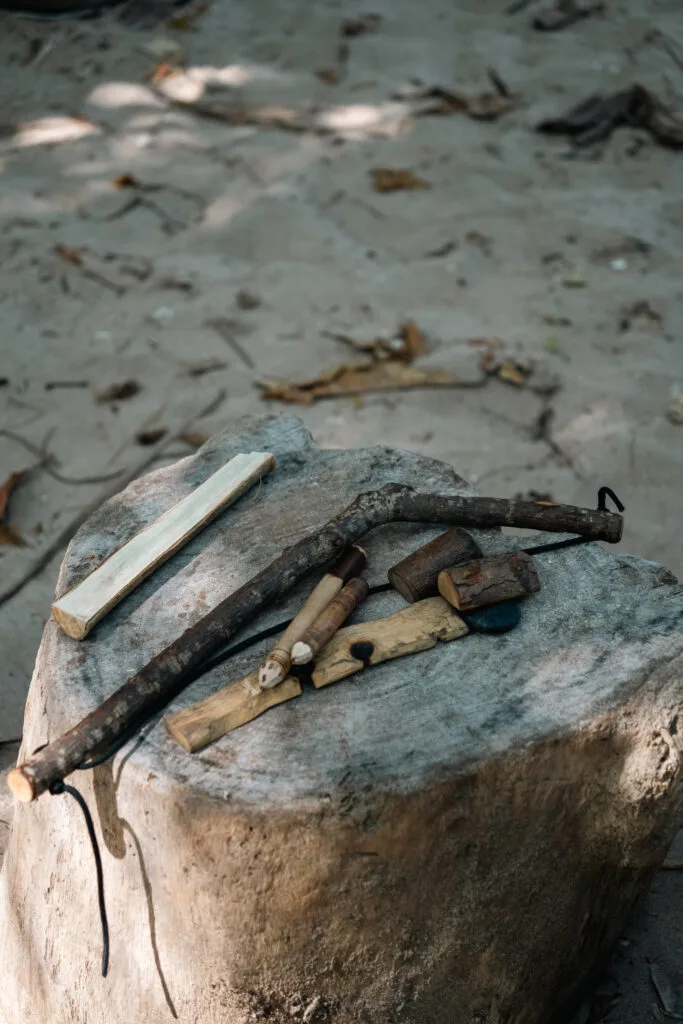
- Bow: About the width of a broom handle, the length of your arm and with a slight curve this wood can be dead or alive but alive (green) with a little flex is best.
- Drill: The drill should be about an inch in circumference, completely straight and the length of your thumbs when making the knarly gesture🤙. extremely dry dead wood, about inches long and inch thick, rounded at one end and blunt at the other.
- Bearing Block: You’ll need a bearing block that you effectively hold the top of the drill with in your hand. It should fit comfortably in your left hand and be a hard yet smooth material.
- Hearth Board: A flat piece of wood about an inch thick and approximately a foot long, with a small divot to start, your hearth board should be evenly flat light a small plank.
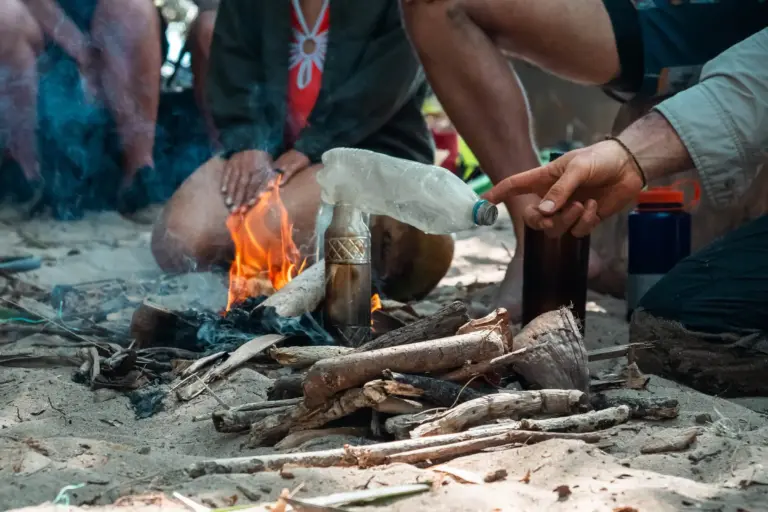
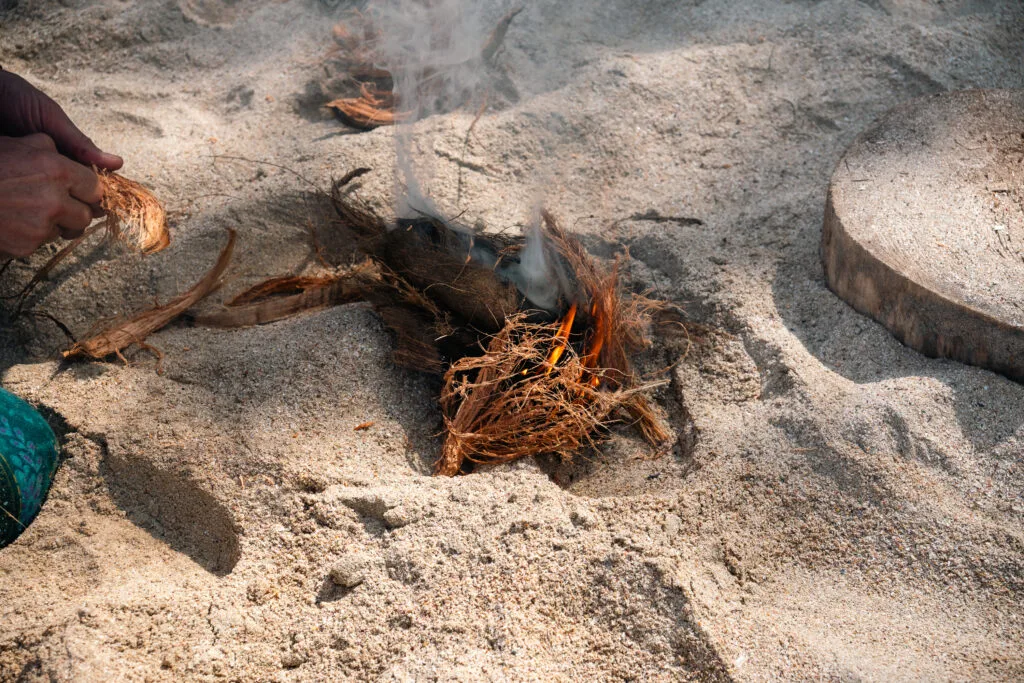
- Tinder Bundle: You want to make a bird’s nest made of dry grass, bark, or such materials, our favoute is the inside fibers of a coconut whch are also always bone dry even in a rain storm. Your tinder bundle is where the smoking ember will ignite.
- Cord: Cordage for your bow, something that won’t stretch too much, paracord is best. You can of course weave this from natural plant fibers but this is expert level.
How Do You Make a Hand Drill Fire? Building the Bow Drill Fire Step-by-Step
Step 1: Preparing Your Bow

Select the Right Bow: Choose a bow that’s about the length of your arm from a green tree so it has some flex without snapping.The bow’s curve should be gentle, and it should fit comfortably in your hand.
Attach the Cord: Tie your cord at both ends, but allow for some adjustability at one end to control the tension. Using a permanent knot at one end and an adjustable knot at the other works well.
Step 2: Preparing the Drill and Bearing Block
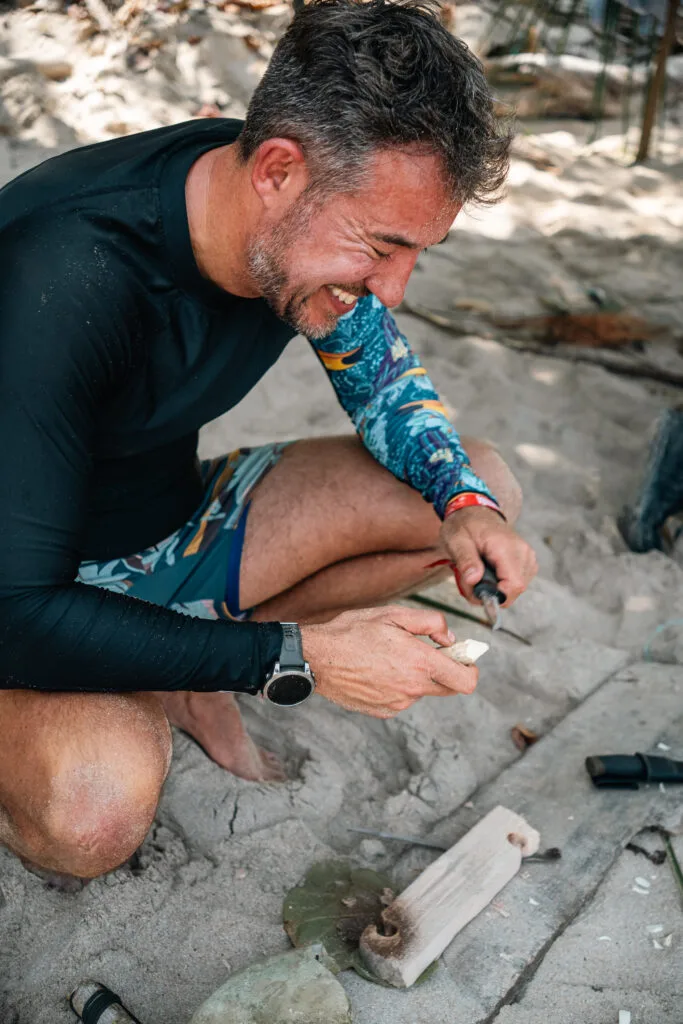
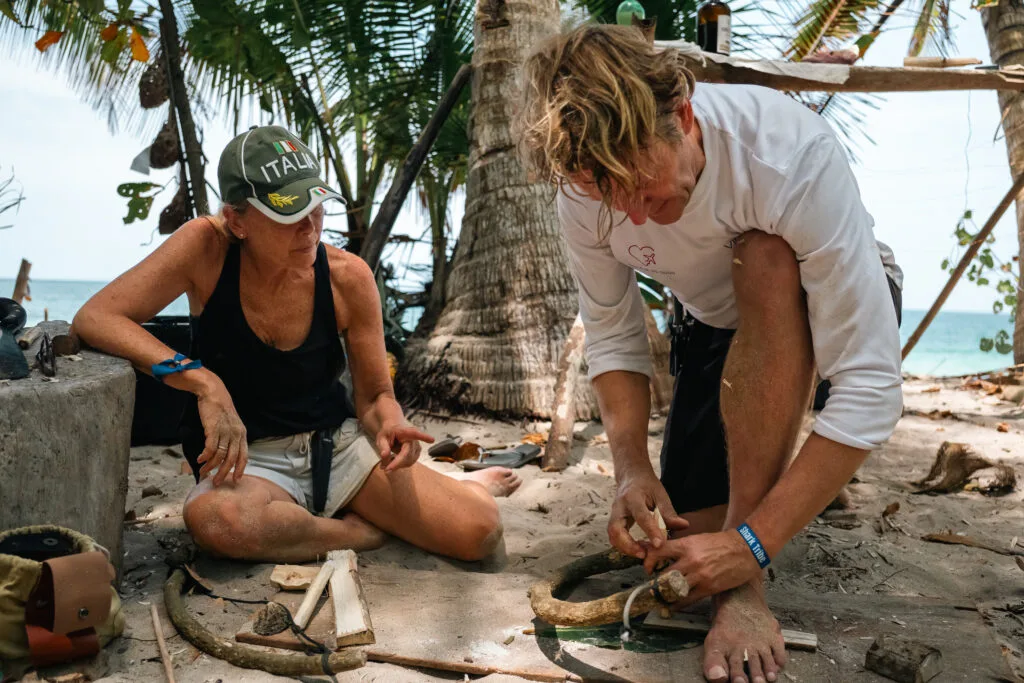
Choose the Right Drill: Pick a piece of wood for your drill from dead wood that’s dry and not wrotten, and about an inch thick. Sharpen both ends into pencil points so they fits into the bearing block, while the other end sits in the handhold.
Create the Bearing Block: For the bearing block, hardwood is ideal. A small divot should be carved to allow the rounded end of the drill to sit. The bearing block will be used to apply pressure to the top end of the drill and minimize friction. As above a shell or stone or bone can also work.
Step 3: The Hearth Board
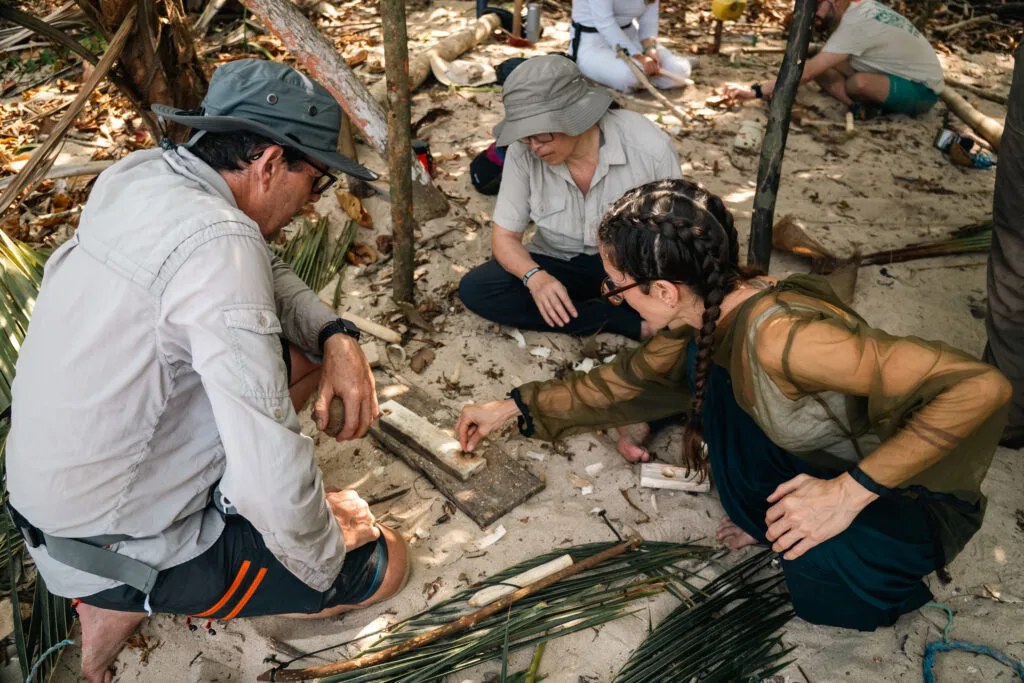
Select the Best Wood: The best wood for a bow drill fire starter could be softwoods like cedar or willow. Make sure it’s flat and will sit stably on the ground.
Create the Notch and Hole: Cut a small notch in the hearth board, and adjacent to the notch, make a small hole about the size of the drill’s blunt end. The hole should be a small depression on the edge of the hearth board.
Make a V-Shaped Notch: (NB this should only be done once you have ‘burnt in’ the hearthboard. The v notch should be 1/8 of a circle and almost but not quite to the centre of the whole you have burnts in. This V, allows the black dust created by friction to accumulate, aiding in the creation of an ember.
Step 4: Preparing the Tinder Bundle
Gather Materials: A tinder bundle about the size of your fist should be prepared. It should consist of extremely dry materials like bark, dry grass, and such materials.
Form the Bundle: Shape it like a bird’s nest, and ensure the centre is loose enough to hold the smoking ember.
Step 5: Getting into Position
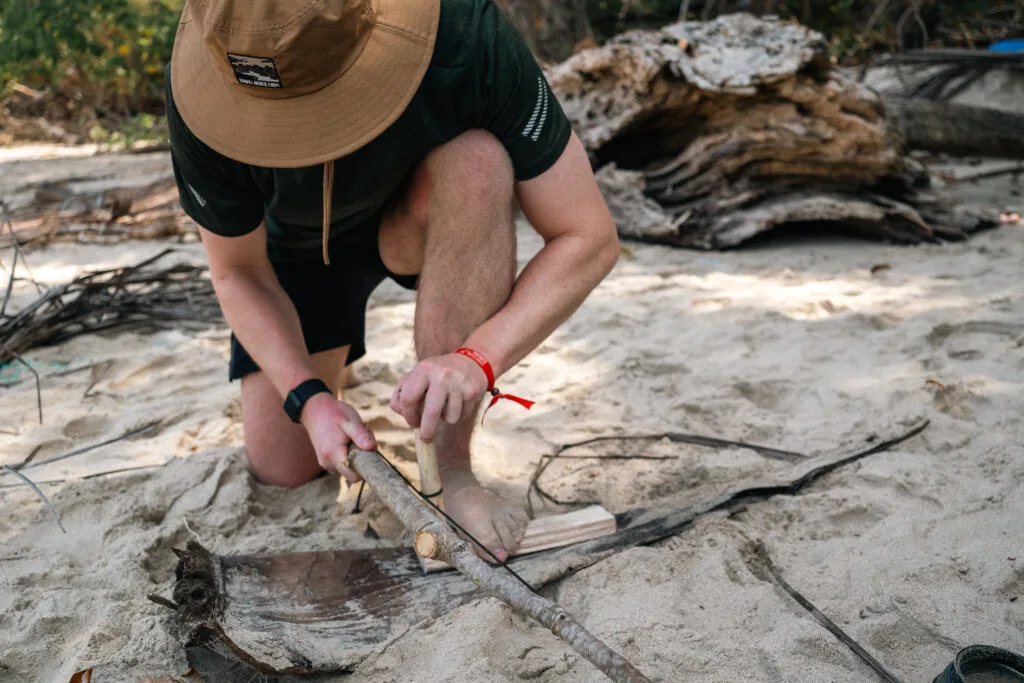
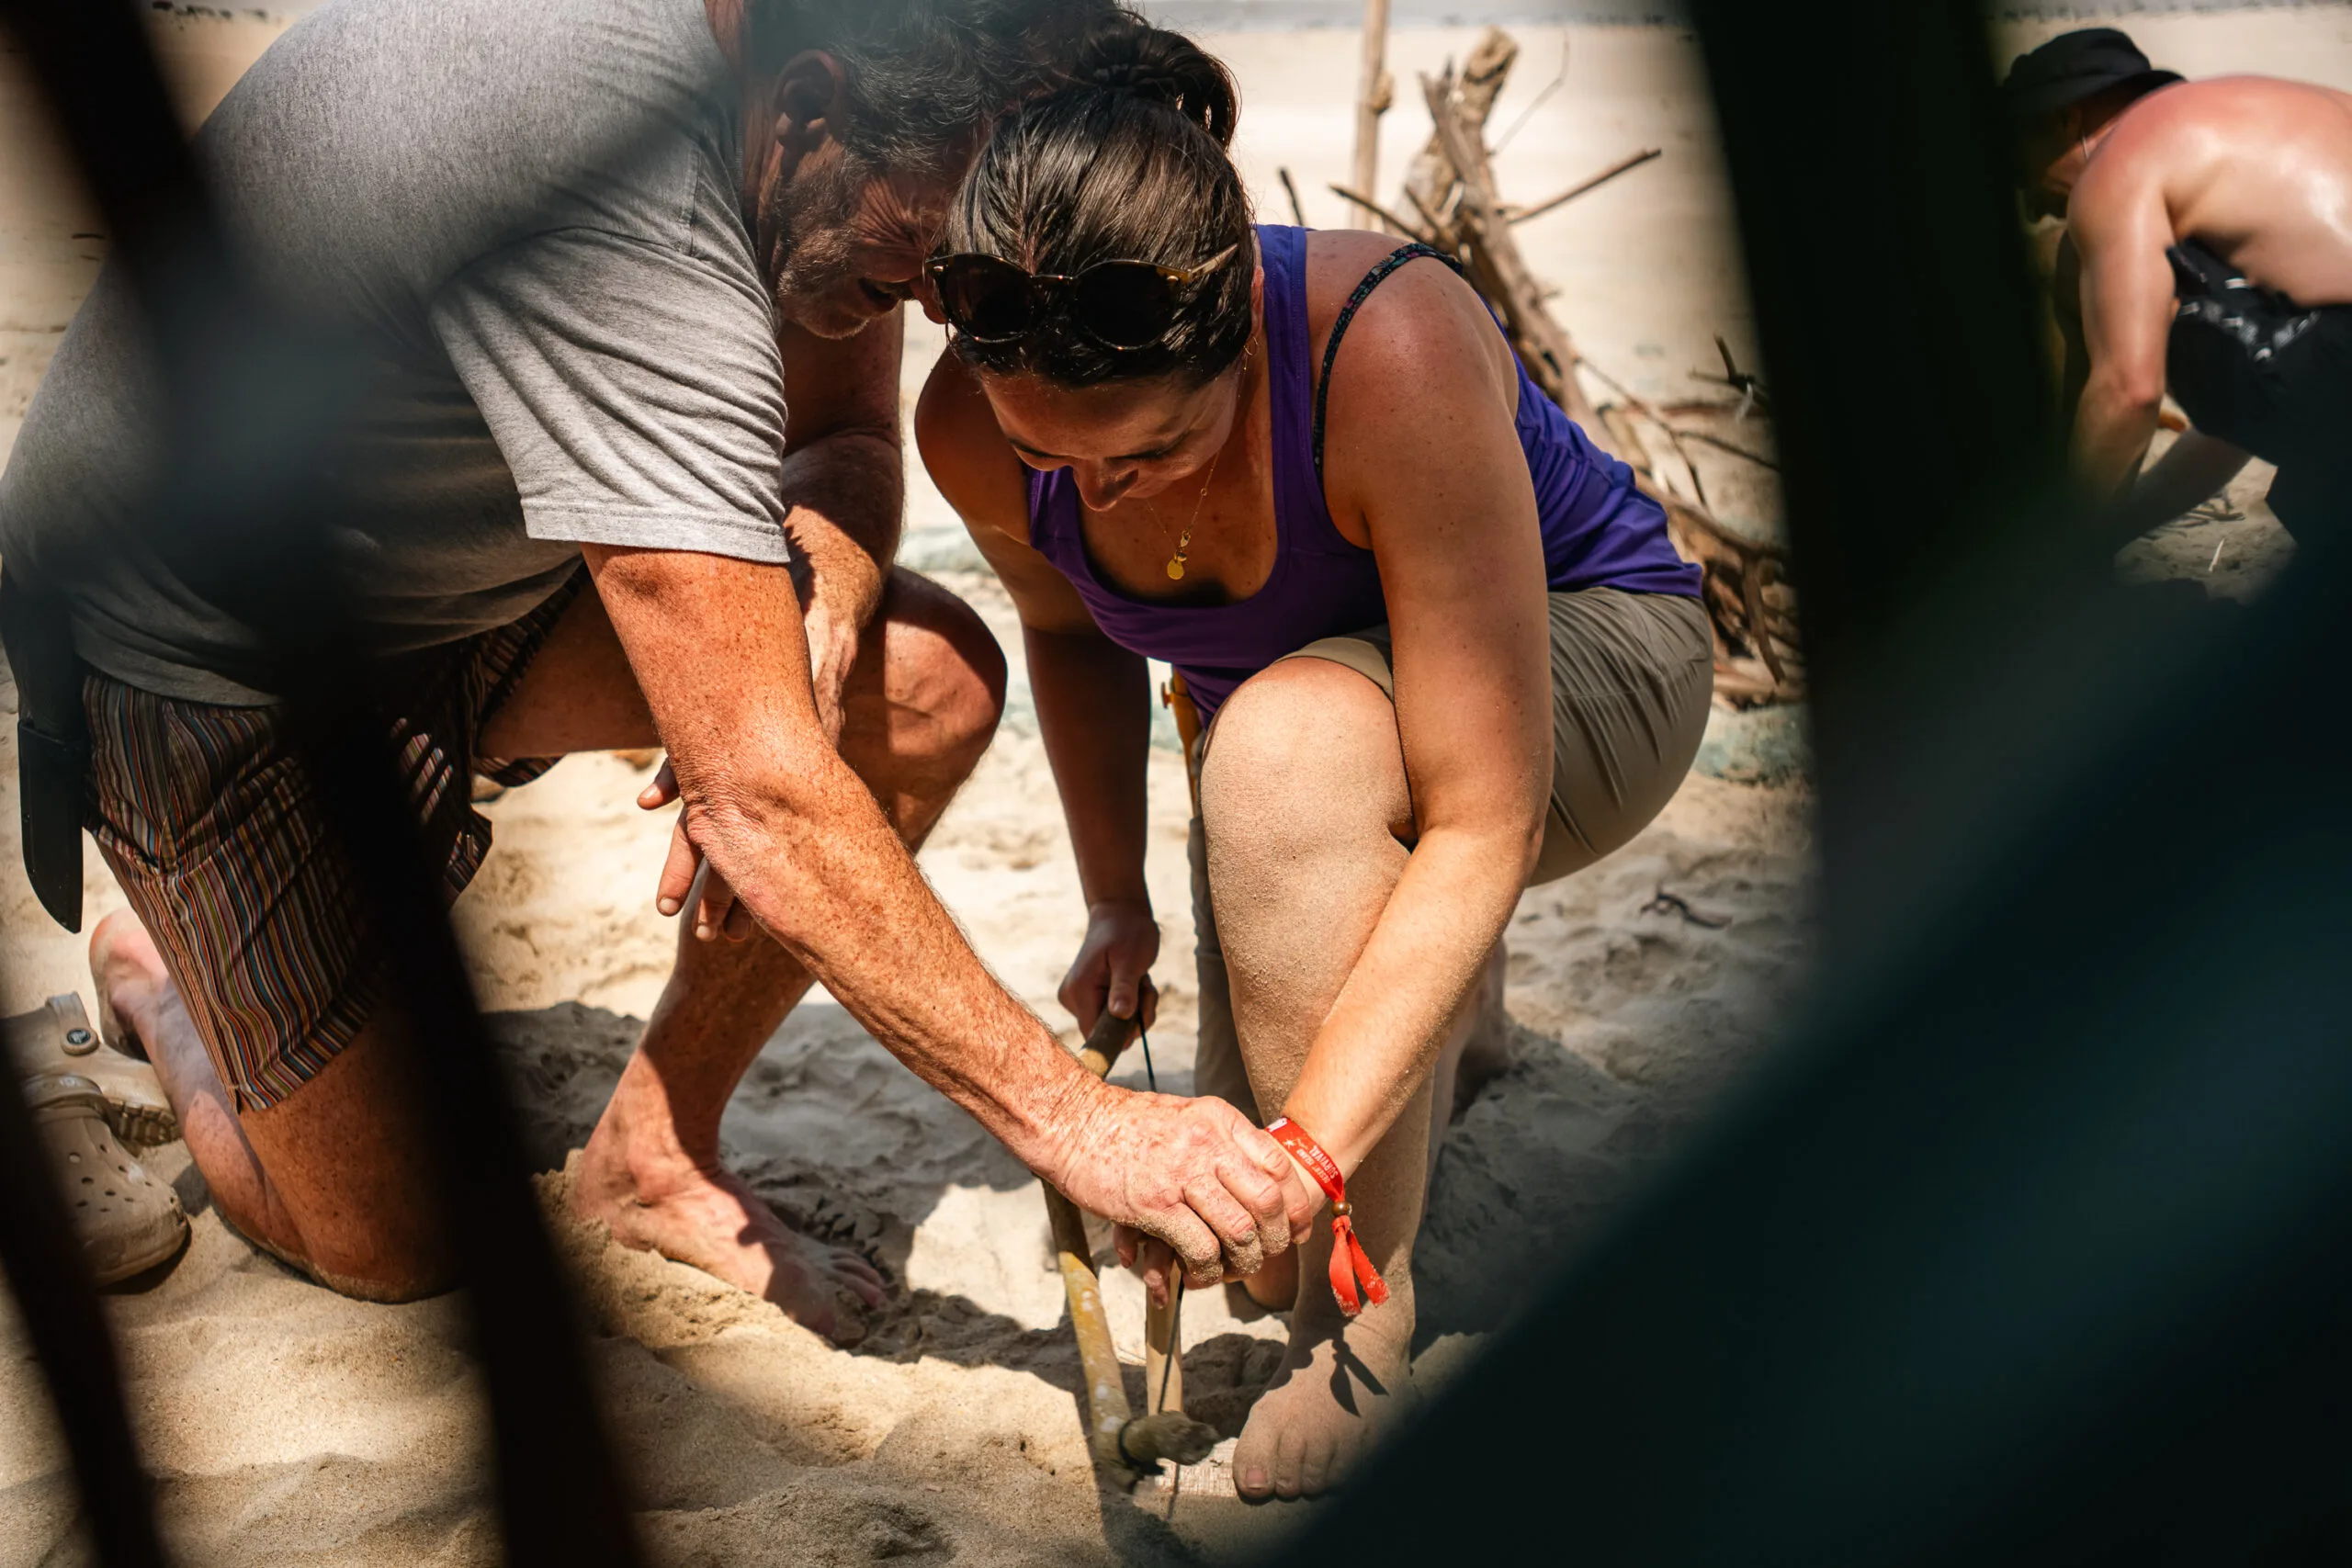
Position Your Left Foot: Place your left foot firmly on the hearth board to keep it stable. Lock your arm to your shin.
Hold the Bow and Bearing Block: With your left hand on the bearing block and your right hand on the bow, position the drill in the small hole.
Begin Sawing: Apply pressure with the bearing block, and start a sawing motion with the bow. Your left knee should be on the ground, providing stability.
Step 6: Creating the Friction
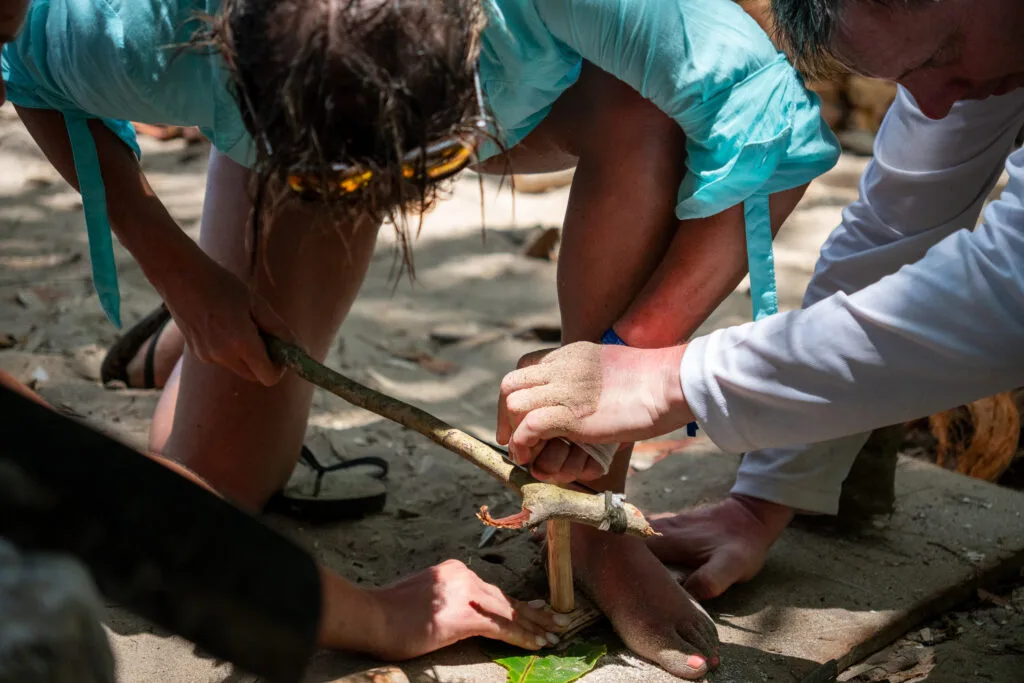
Sawing Motion: Continue this motion with the bow, applying downward pressure with the bearing block. Your goal is to create enough friction between the drill and the hearth board to produce smoke and black dust.
Monitor Progress: You’ll know you’re on the right track when you see these signs of friction accumulating in the small notch of the hearth board.
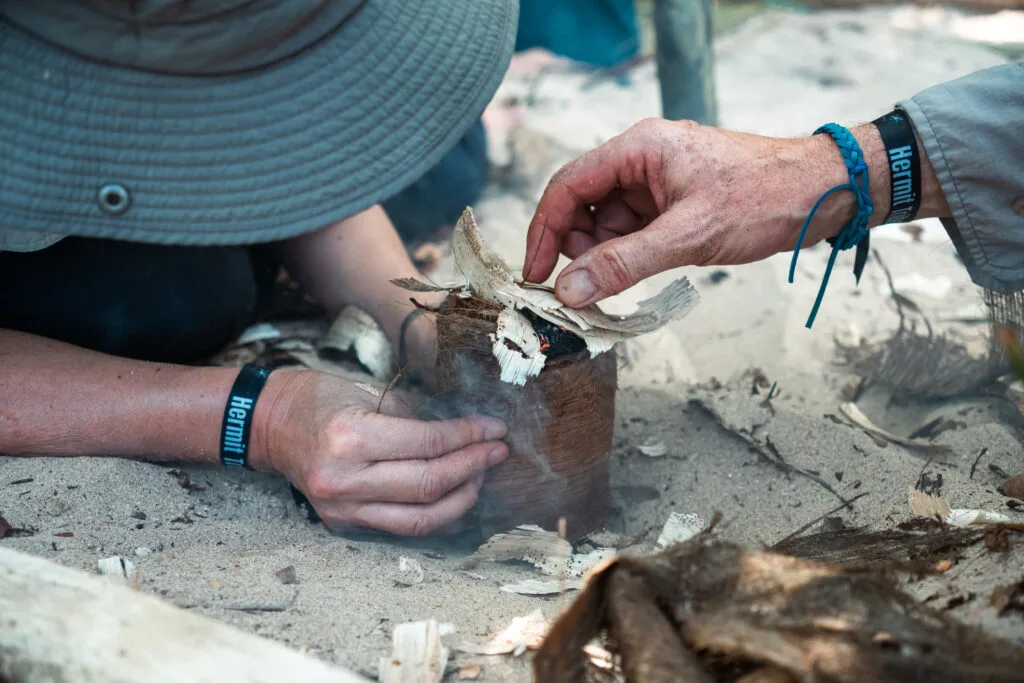
Step 7: Igniting the Tinder Bundle
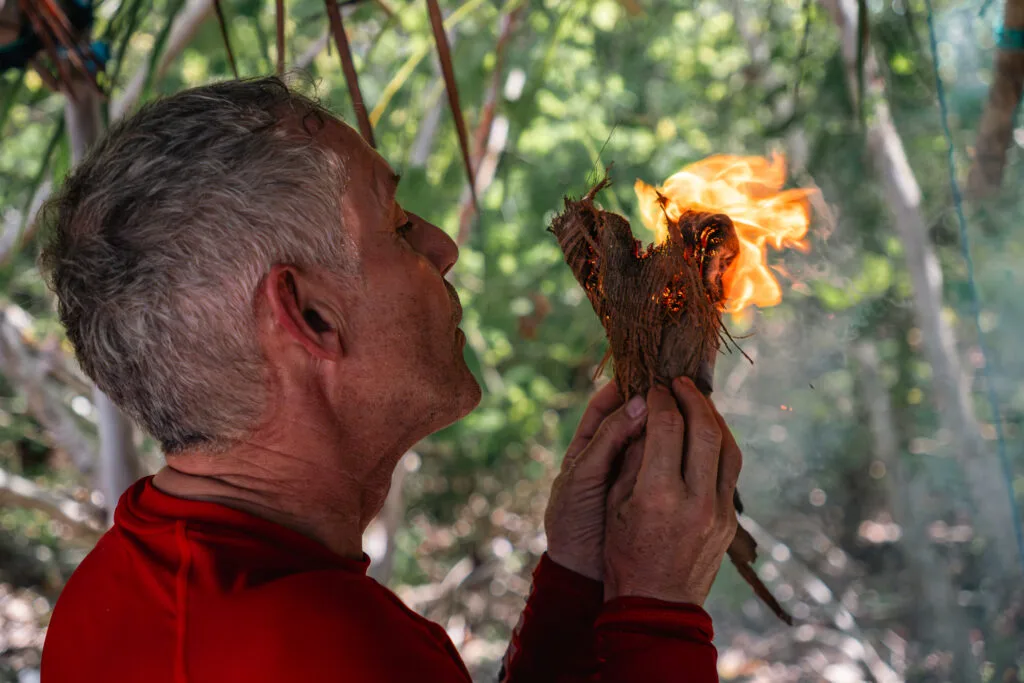
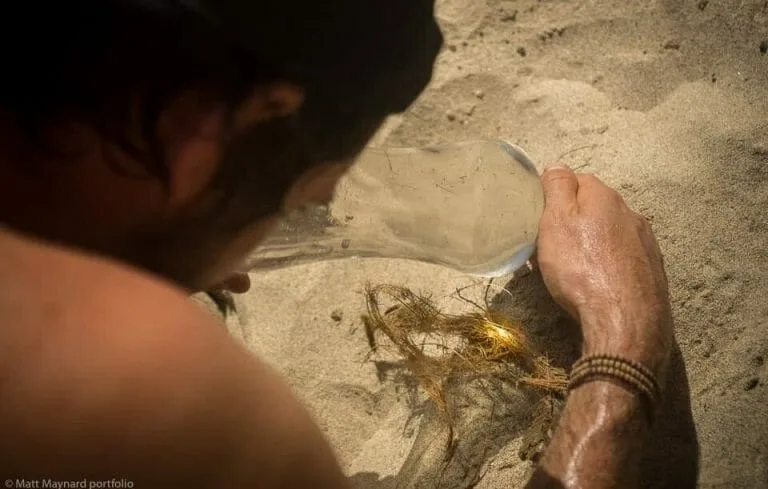
Transfer the Ember: Once a smoking ember forms, carefully transfer it to your tinder bundle. The tinder must be extremely dry for this step to be successful.
Ignite the Ember: Hold the bundle in both hands and blow gentle, steady breaths. Your breaths should be controlled and directed at the ember to ignite it into a fire.
Step 8: Nurturing the Fire
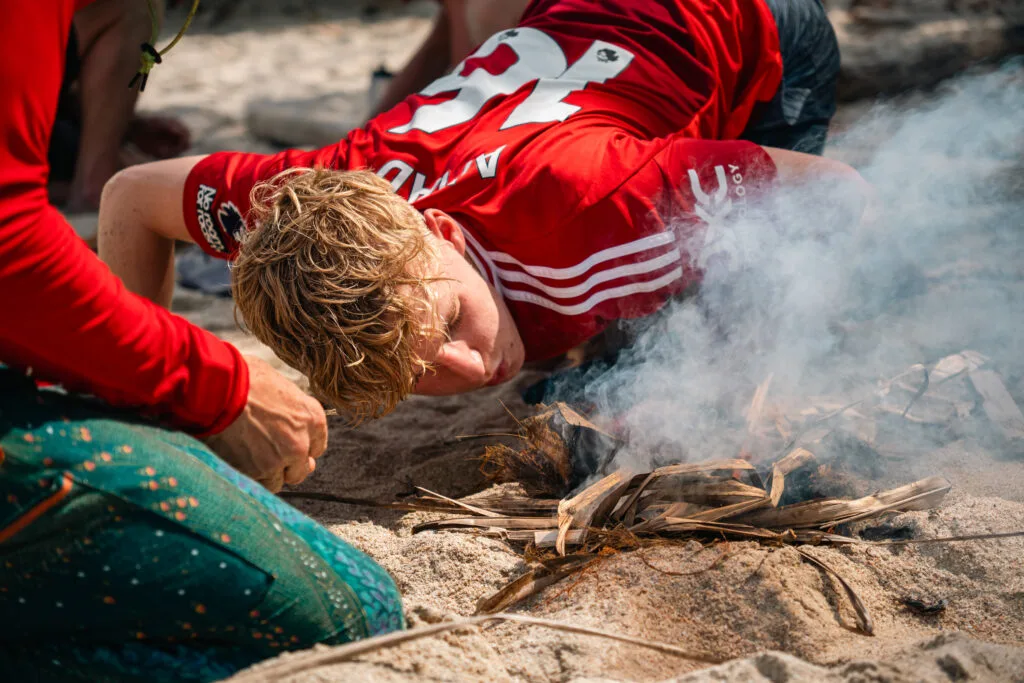
Add Fuel Gradually: Place the burning tinder bundle in your fire setup, adding small sticks and other fuel gradually to grow the fire.
Patience and Care: Nurturing the fire to full strength requires patience, care, and understanding of the wood, ground, and other environmental conditions.
What are the Parts of a Bow Drill Fire?
Understanding the parts of a bow drill fire helps you master the technique:
- Bow: Your main tool, usually foot long, that drives the drill.
- Drill: This wooden stick, typically inches long, creates the friction to ignite the fire.
- Bearing Block: To apply pressure at the top end of the drill and minimize friction.
- Hearth Board: This is where the magic happens; the drill spins against it to create fire.
- Tinder Bundle: To catch the smoking ember and transform it into fire.
What Kind of Wood is Used for a Bow Drill Fire Starter?
- Bow Wood: Hardwoods like oak or hickory are ideal for the bow.
- Drill Wood: Dry, dead wood like cedar or sagebrush, about an inch thick, works best.
- Hearth Board Wood: Softwoods, extremely dry, such as cedar or pine, are typically used.
What is the Best Primitive Fire Starting Method?

Primitive fire-starting methods have been essential to human survival for thousands of years. These techniques have evolved over time and vary by culture, geography, and availability of resourcesWhile there are several fire-starting methods like flint and steel, ferro rods, or matches, the bow drill method is often considered one of the best, particularly for its adaptability and effectiveness in different environments. With just a knife, cord, and the right wood, you can create fire.
Advantages and Disadvantages of Using a Bow Drill to Start a Fire
Advantages
- Versatile: The bow drill method works with a variety of wood types. From softwoods like cedar and pine to hardwoods like oak, this method is adaptable. It also allows flexibility in the construction of the bow drill kit itself.
- Accessible: Unlike modern fire-starting tools, the bow drill requires only simple materials found in nature. With a piece of wood for a drill, another as the hearth board, and a cord or even flexible bark, you can create fire.
- Skill Building: Mastering the bow drill method enhances essential survival techniques and connects you with ancestral wisdom. It’s not just about making fire; it’s a skill that fosters self-reliance and deep understanding of nature.
- Sustainable: By using natural materials and no chemicals, starting a fire with a bow drill is an eco-friendly option. It’s a method that resonates with those who seek harmony with the environment.
- Culturally Rich: The bow and drill method have been used by various cultures worldwide, including Native Americans. Understanding this method gives insight into historical and cultural practices.
Disadvantages

- Physically Demanding: The bow drill method requires strength and stamina, especially in applying pressure and maintaining a steady sawing motion. Those who are new to this method might find it strenuous.
- Environmentally Dependent: Specific dry wood and conditions are necessary for success. Wet or humid environments can make this method challenging, as dry wood and tinder are essential. The best wood for a bow drill fire might not be available in all regions.
- Time-Consuming: As a primitive fire-starting method, it’s not the fastest. Compared to modern fire-starters, it requires patience and practice, which might not be ideal in emergency situations.
- Complexity in Construction: While the materials are simple, constructing the bow drill kit requires attention to detail. Ensuring the drill, hearth board, and bow are the right size, shape, and of the same hardness can be intricate.
- Skill Required: Without prior experience or guidance, successfully creating fire with a bow drill might prove difficult. This method requires practice and perhaps even instruction to master.
Bow drill troubleshooting
You need to keep the bow straight as you move it back and forth, if you point fowe
You are not using enough speed and pressure, typically its pressure. Press down much harder or get a friend to help.
You need a smoother handhold or to lubricate it, use some coconut, nose oil or cooking oil to lube the top.
You have likely polished up the drill and compressed the fibres, if it is shiny scratch the drill head with your knife and the inside of the divot on the hearthboard, you can even add a tiny bit of sand to get more friction in there.
The cordage is not tight enough. To help in the short term you can pinch the cordage to the bow. However most likely you need to restring and take a cm or so out of the slack of the cordage.
Are you intrigued by the bow drill method and other survival techniques?